
Pinterst Challenge #1 - Hand Painted Mug

So after getting re-addicted to pinterest a few weeks ago, I decided to set myself a challenge; find a DIY tutorial that was completely new to me, and try it out!

I came across a pin about painting ceramics and pottery, I was hooked!


I still had a glass/pottery pen left over from my wedding Mr and Mrs Glasses that I did last year;

I knew that I wanted to start with something simple that wouldn't take too long to make, I turned back to pinterest for further inspiration!


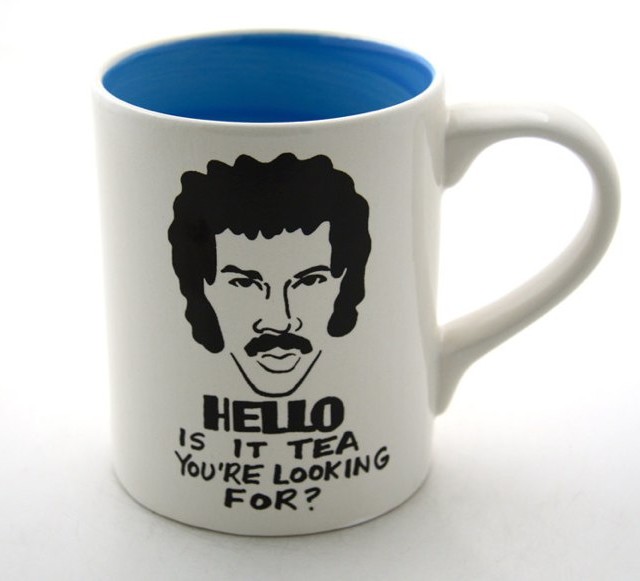
When I first saw this, I couldn't stop laughing!  My poor husband has had to put up with me singing it to him for the last few weeks - his patience is wearing thin.  I knew that if I were to make the actual cup, I may find myself drowned in the sweet nectar after my singing finally pushed poor Chris over the edge.

I wanted a witty, but simple cup.  After a bit of brain storming (and some rather un-ladylike inspiration swearing) I came up with "Mean Mug-a Cuppa".  I know I shouldn't, but I get a thrill from secretly saying the naughty version of 'Mother Fudger' when I am working at home alone, so this slogan seemed perfect for me!

Here is my finished project - I love it, and I am hoping to provide a DIY tutorial for anyone wanting to re-create their own :)


Comments

Popular posts from this blog

Colour B4 Extra Strength Review - Part Two Using the Dye Remover and helping to prevent re-oxidation

If you haven't already read it, you should really check out Part One of this as it details preparation, it can be found here Well it is done and I am rather impressed with the results, even if I do say so myself!  There were a few things that I did differently this time and I will go through the entire process and then share the finished result. You will need; Sectioning Clips Comb Colour B4 Extra Strength Cling Film Two beanie style hats Hair Dryer Shower Bucket Loads of Patience Step One Start by sectioning your hair and clipping the upper portion to the top of your head.  If like me you have long hair, it is best to start with the underneath layers.  I found the easiest way to apply the remover was to take a small section of hair (no more than an inch wide) and squirt a small amount into my gloved hands and start with the ends carefully rub it in.  I usually applied 3 squirts to each section; end, mid length and root.  Time should be taken to ensure each squ

Superdrug Colour Rewind - Hair Dye Remover Review - Part One

I started dying my hair at the grand old age of 15 - fast forward to 12 years later and my hair has become a dried out mop of horror.  I started with black - I loved Marilyn Manson and Slipknot and needed the world to view my hair as an extension of my sheer awesomeness!  This phase lasted until I was about 19; almost 4 years of the darkest of darks layered over my hair. I alternated between black, black-blue, black-purple and even tried dip dyed black and red.  At 19 I wanted a change and decide to bleach it so I could dye it red - after an initial day of ginger (luckily I was favouring the sporty baseball cap in this period) I switched to a dark red.  Next came a few years of alternating between different shades of red and then various browns. When we started trying for a baby in 2010 I was worried that the constant dying of my hair whilst pregnant could cause development issues - I went to a professional hair dresser and had blonde highlights put through my then dark brown

Replacement Blades for the Silhouette Cameo - UK users

From the moment I purchased my Silhouette Cameo I was in love.  The only way I could justify the cost was to start up a business , the only problem with this was the cost of the blades.  I was getting through a blade every few weeks, at just under £16.00 (including postage) for a single blade it was getting very expensive.  I knew that once business picked up I was going to either have to increase prices (never a good idea for new businesses) or take a big knock in profits.  The only solution I could see was be to try and find a cheaper solution to the blades. I was first made aware of using disposable blades by Ligaya's Creativity Zone .  She had had success with an aluminium (CB09) Blade Holder.  This blog was invaluable for advice on the different angled blades available and suppliers of the CB09 Blade Holder. The only drawbacks were the seller was based in Asia (have been stung for import taxes before, and it is a hefty amount) and there were reports that the holder act